Key Mid-Face Filler Treatments for Rejuvenation
This guide to key mid-face filler treatments for rejuvenation is designed to help new and established aesthetics practitioners brush up their injecting skills.
Clinical trainer and aesthetics specialist at Harley Academy, Dr Janine Rothburn talks us through the essentials of mid-face treatments.
You’ll also find details of the filler training courses that can help you to perfect these techniques.
Key filler treatments to rejuvenate the mid-face
Mid-face treatments aim to replace lost volume for rejuvenation.
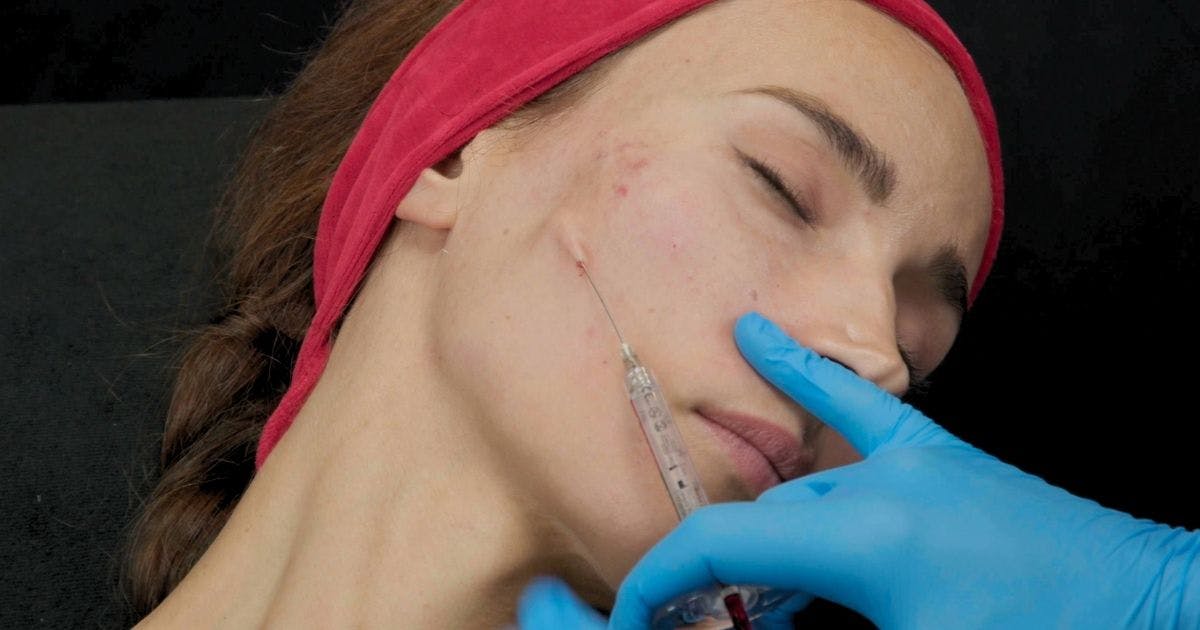
Dr Janine explains, “Treating the mid-face with dermal filler includes the following:
- Cheek apex
- Zygomatic arch
- Deep medial cheek fat (DMCF)
- Lateral temporal cheek fat (LTCF).”
Determining patient suitability for mid-face filler treatments
“Most ageing patients will benefit from mid-face filler treatments. However, this may not apply to very slim patients. If these patients have significant mid-face volume loss and great projection of the zygomatic bone laterally, they would benefit more from anterior mid-face volume restoration eg. DMCF and possibly LTCF.
“Patients with a very full face seeking more definition and contour can be treated at the zygomatic arch,” Dr Janine notes. This will add more sculpting to a round face.
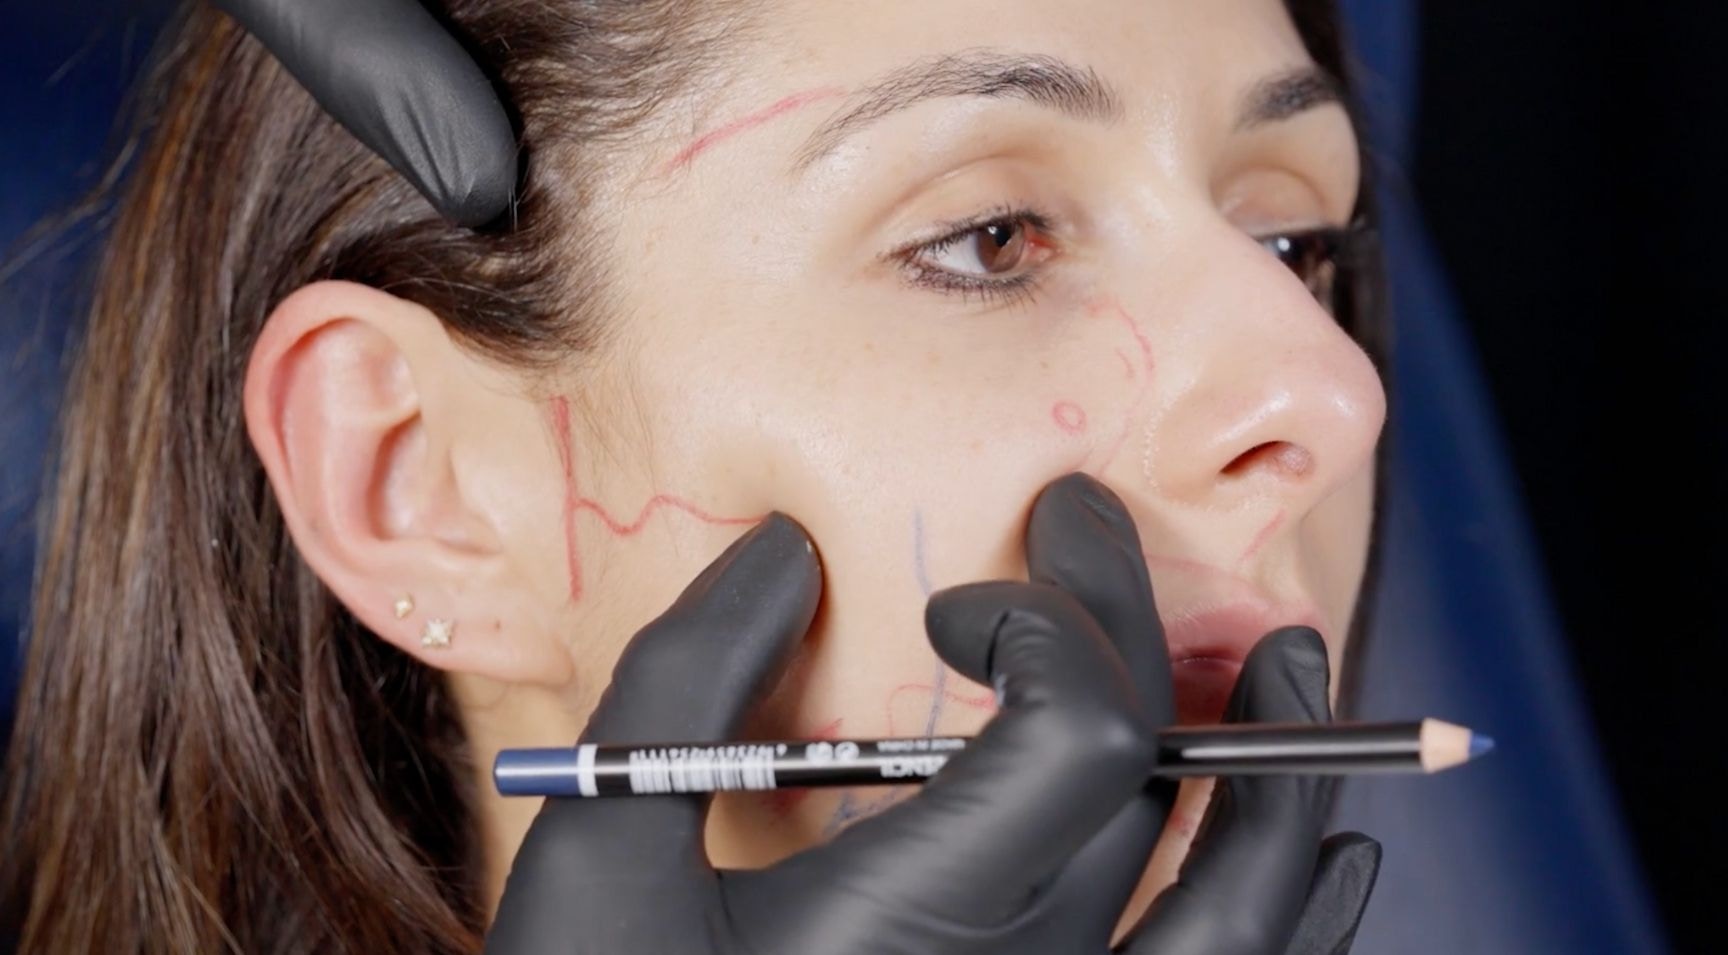
How do you mark up for these treatments?
When marking up for mid-face filler treatments, Dr Janine recommends, “Always get your patient to sit upright to mark them up. We always want to mark the mid-pupillary line down. This is because we need to be cautious about treating medial to this line.”
Marking up the cheek apex
She notes that to mark the apex of the cheek, you can do one of the following:
A) Hinderer’s line
“Draw a line from the ala to the tragus and the other from the oral commissure to the lateral canthus.” Where they intersect is the apex.
B) Wilkinson’s line
“A line is dropped vertically downward from the lateral canthus to the inferior border of the mandible. Another line is marked one-third the distance from the lateral canthus to the angle of the mandible.” Again where they intersect is the apex.
Marking the zygoma
Dr Janine states, “Palpate for the superior and inferior borders of the zygomatic bone and space your markings along the zygoma here.”
These landmarks need to be considered with the individual’s face in mind. She notes “You can look to see where the volume loss is present.” This is especially the case as you become a more confident injector. Sometimes you may tweak these points depending on what you see and the desired outcome.
What to use when treating different areas of the mid-face
Which type of filler to use
Dr Janine explains that, “Mid-face fillers should be carefully selected to ensure natural results. This should be seen in both static and dynamic expressions (eg. on smiling). They should also have optimal and durable treatment outcomes.
“A firm G’ prime filler is ideal for injecting into deep static fat pads to provide strong, persistent structural support and malar projection. However, if injecting into the superficial fat pads, a softer and more malleable product would be preferable.”
Needle or cannula?
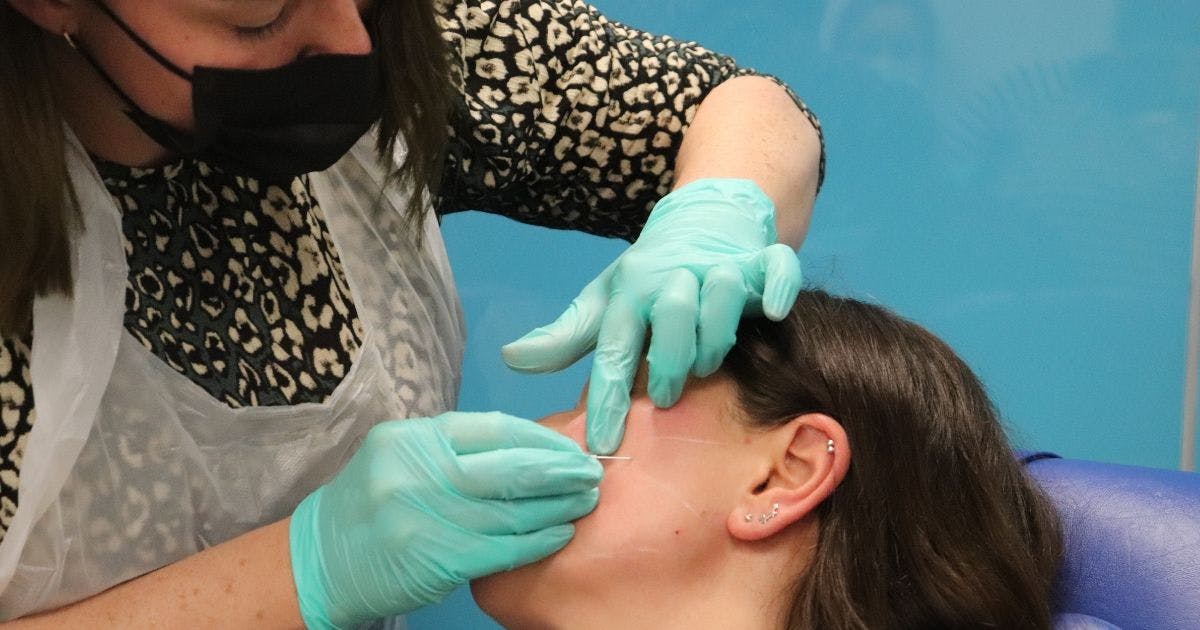
“We advise using a cannula medial to the mid pupillary line for safety reasons due to the risk of injury to the contents of the infra-orbital foramen. Anything lateral to this line, a needle or cannula can be used,” advises Dr Janine.
“A needle, for example a 27G, or a cannula such as a 25G, can be used to restore the mid-face. This, however, is again down to the practitioner's preference.”
Injection techniques for each mid-face filler treatment
“A needle or cannula can be used for each of these treatments. Preference will vary between practitioners,” Dr Janine comments. She says, “Techniques that I often use and teach during mentoring are:
- Apex and zygoma: 27G needle onto periosteum – supraperiosteal bolus
- DMCF: 25G cannula in layer 4 – fanning and microbolus technique
- LTCF: 25G cannula in layer 2 – fanning and microbolus technique.”
These techniques and other valuable knowledge are provided in our Cheeks, Mid-Face & Lower Face Filler Masterclass. Taught by an experienced specialist, such as Dr Janine, expect to receive the very best in medical aesthetics training. You’ll learn to sculpt and rejuvenate as you get first-hand experience treating your own patients who we source for you. The pros and cons of using a needle or a cannula are also discussed.
Deeper layer treatments first
Dr Janine highlights, “It’s always best to start injecting deeper layers of the face first. These will help to provide the structural support which will ultimately give the most natural aesthetic results.”
Top tip for patient assessment
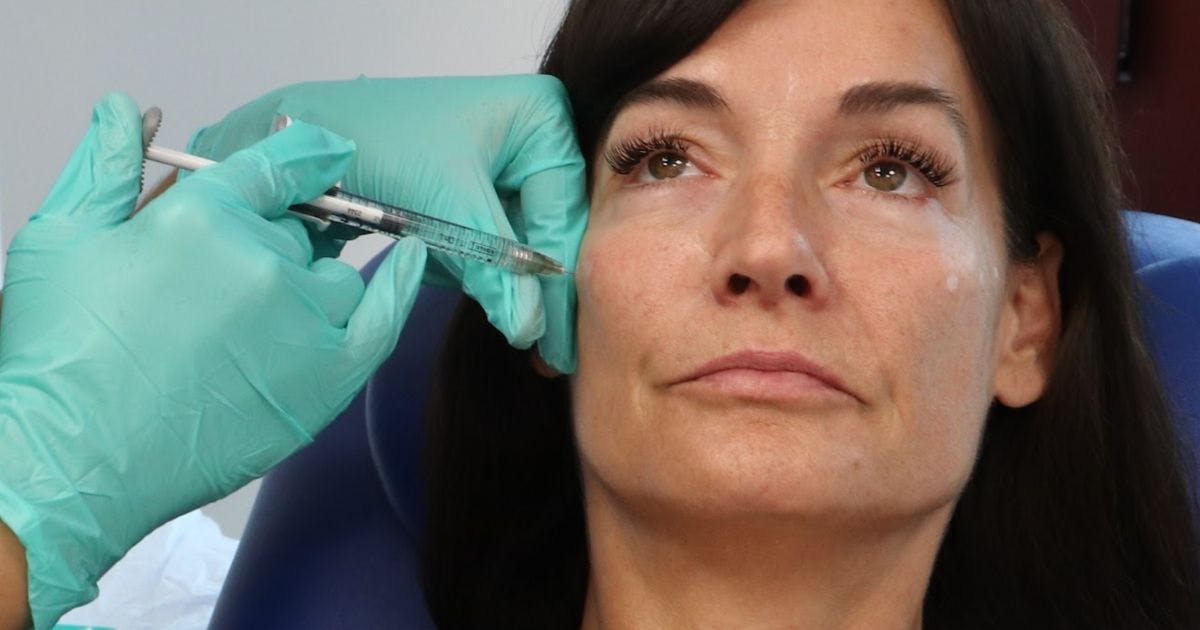
We asked Dr Janine for her top tip when it comes to assessing patients and injecting the mid-face.
She shares, “Always assess the patient dynamically - when smiling, for example - when treatment planning for the mid-face. The last thing we want to do is overtreat this region as this could lead to very unnatural results on expression.”
This can make the patient look overfilled, especially in the cheeks and is generally considered bad practice.
There are also various proportions to consider. When it comes to your mid-face treatments, the Ogee curve, as well as bizygomatic and bigonial distance may impact the whole face shape.
Mid-face filler approach for male vs female presenting patients
Dr Janine states that, “Anatomical differences between male and female patients will mean that our approach is slightly different. Mid-face treatments for rejuvenation should respect the specific anatomy of a man vs a woman.
“A male cheek is generally flatter but more angulated than the female midface. As such, mid-face injections tend to be more inferomedial in men compared with superolateral in women.”
Learn safe filler injection techniques for facial rejuvenation
Our Level 7 Diploma in Botox & Dermal Fillers provides the gold standard in novice-to-specialist aesthetics training. This postgraduate level course is designed to set you up to be a safe, ethical and effective injector. Not only is it Ofqual-regulated but it’s also JCCP-approved - as is Harley Academy.
You’ll learn all about upper, mid-face and lower face treatments, plus general facial anatomy, as well as various injecting techniques. Furthermore, you’ll expand your understanding of complications prevention and management, leading you to become a confident injector.
Our Level 7 Diploma is the ideal course for anyone looking to start their medical aesthetics career or build on their existing knowledge. We also offer a Fast Track Level 7 for more experienced injectors looking to formalise their education.
Book a FREE discovery call with Christine or Deneal, our Course Advisors, to find out what aesthetics course options are open to you. They’ll also be able to discuss everything from eligibility to payment plans.
All information correct at the time of publication
Download our full prospectus
Browse all our injectables, dermal fillers and cosmetic dermatology courses in one document
By submitting this form, you agree to receive marketing about our products, events, promotions and exclusive content. Consent is not a condition of purchase, and no purchase is necessary. Message frequency varies. View our Privacy Policy and Terms & Conditions
Attend our FREE open evening
If you're not sure which course is right for you, let us help
Join us online or in-person at our free open evening to learn more
Our Partners



STAY INFORMED
Sign up to receive industry news, careers advice, special offers and information on Harley Academy courses and services

